Painting can be a daunting task. It’s time-consuming, and it can be difficult to achieve the perfect, professional-looking finish. But don’t worry. With the right equipment and technique, you can get an even, smooth finish with paint rollers—whether you are a painting professional or a DIY enthusiast.
Choose the Right Paint Roller
The first step is choosing the right paint rollers for a smooth finish. There are several factors to consider when selecting the appropriate roller, such as nap length, roller cover type and size, core material, and weight. Nap length refers to the thickness of the fibers on the roller cover; thicker fibers are better for textured surfaces, while thinner fibers are more appropriate for smoother surfaces. For the smoothest finish, industrial paint rollers are a great option.
Prep Your Surface Before Painting
Before you start painting, make sure your surface is prepped properly—this is key for achieving an even finish. If necessary, patch any holes or cracks in your walls and sand them down so they’re smooth before applying primer or paint. Once that’s done, use some painter’s tape around edges and places where you don’t want any stray brush strokes of paint showing up later on.
Painting with Rollers
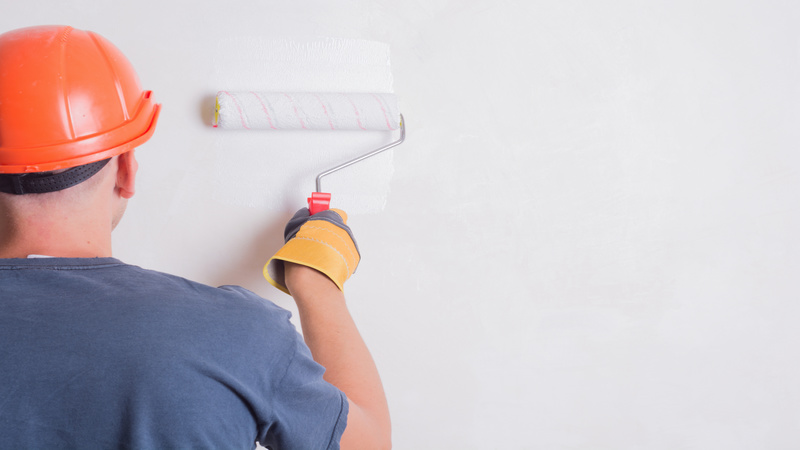
Now that everything is prepared properly, we can start painting with paint rollers for a smooth finish. Start by filling up your tray with enough paint so that you won’t keep running out while painting. Load up your roller by dipping it into your tray until it’s evenly saturated with paint but be careful not to overload it too much—you’ll know it’s overloaded if there’s excess dripping off when you take it out of the tray. Finally, start rolling onto the surface in an overlapping “M” pattern until everything has been covered evenly in two coats (or more, depending on how thick/opaque you want your finish).


