Aluminum railings are very important for safety for those using a deck. They are essentially maintenance free with the exception of a quick wash down with the hose on occasion. Installing Aluminum deck railing includes a number of detailed steps depending on the product and arrangement used. Below is a general guide on installing aluminum deck railing.
Step 1: Determine the Ideal Deck Railing
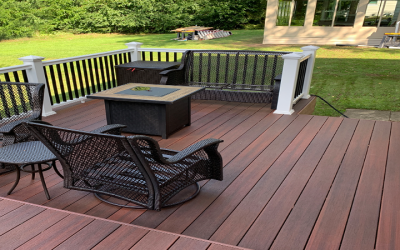
The first step involves selecting the railing you want. This will depend on your preferences and what is ideal and practical for your home or business. Some examples of aluminum railing types include Westbury railing, screenrail railing, and continuous handrails.
- Westbury railing
- Screenrail railing
- Continuous handrail
Step 2: Select and Gather Your Hardware for Installation
After choosing the type of aluminum railing for your deck, identify and gather the equipment you need for the installation. Some of the items you may need include tape measure, rubber mallet, cordless drill, chop saw, level, retractable utility knife, and pen or marker.
Steps 3: Measure
Before you install the railing, measure rail segments to help ensure a proper fit. You can cut off any excess with your saw.
Step 4: Follow the Installation Steps Provided With Your Railings
After gather the necessary hardware for the job and performing all necessary measurements, it’s time to begin the installation. From this point forward the installation steps that are provided and/or apply to your specific railing and configuration should be followed.
The above steps are a general outline for how to proceed your aluminum deck railing. For further details, refer to any instructions provided with your deck railing or deck railing kit.